
Turn a vague image idea into a usable brief with Kimi
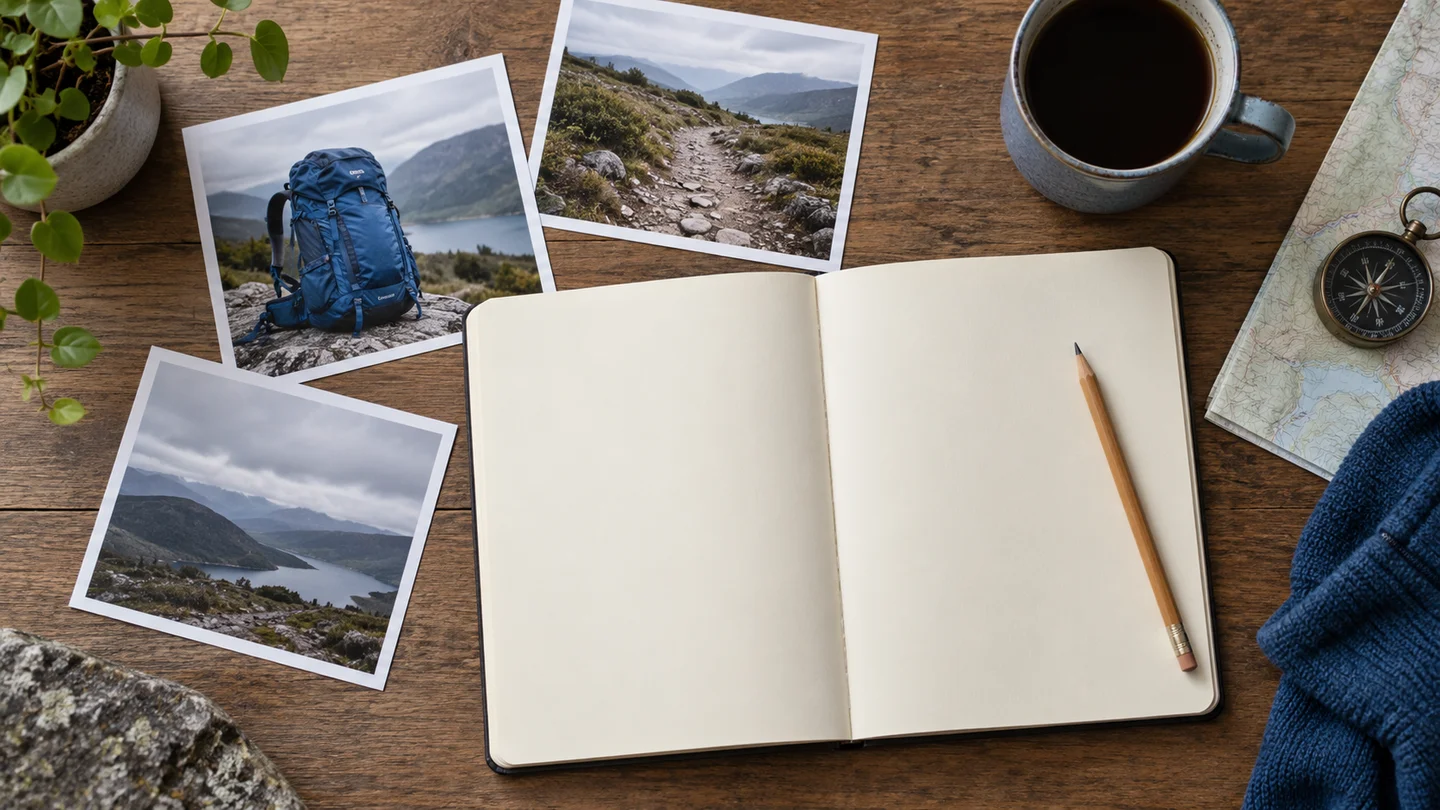
Codex-generated tutorial illustration; not a Kimi or Nano Banana model result.
“An outdoor backpack ad, something premium” is a starting thought, not a brief. It leaves the audience, placement, product details, and room for text undecided. A text assistant can help make those decisions visible before you send a request to an image workspace.
This tutorial uses Kimi as the drafting step and a separate image tool as the rendering step. It does not claim that Kimi generated the illustrations or that the two services share an integration. The desk illustration was generated with Codex.
Ask for questions before asking for a prompt
Open the Kimi chat workspace and paste a request that limits how many questions you want. Long interviews are unnecessary for a small asset, but a few missing decisions can change the entire composition.
I need a campaign image for a blue hiking backpack.
Before writing the image prompt, ask up to five questions about
where it will appear, the audience, product details, copy, and crop.
Do not invent product specifications, benefits, or a brand name.
Answer with facts you know. If the material or capacity is unknown, say so. A fluent assistant can fill a blank with plausible language, but that would make the brief less reliable for a real product.
A portrait variant needs its own brief
The example below is a portrait advertising variant, rather than the landscape website hero described earlier. The blue backpack sits below the center; the pale sky leaves room for a headline added later. Changing the destination changes the composition requirement.
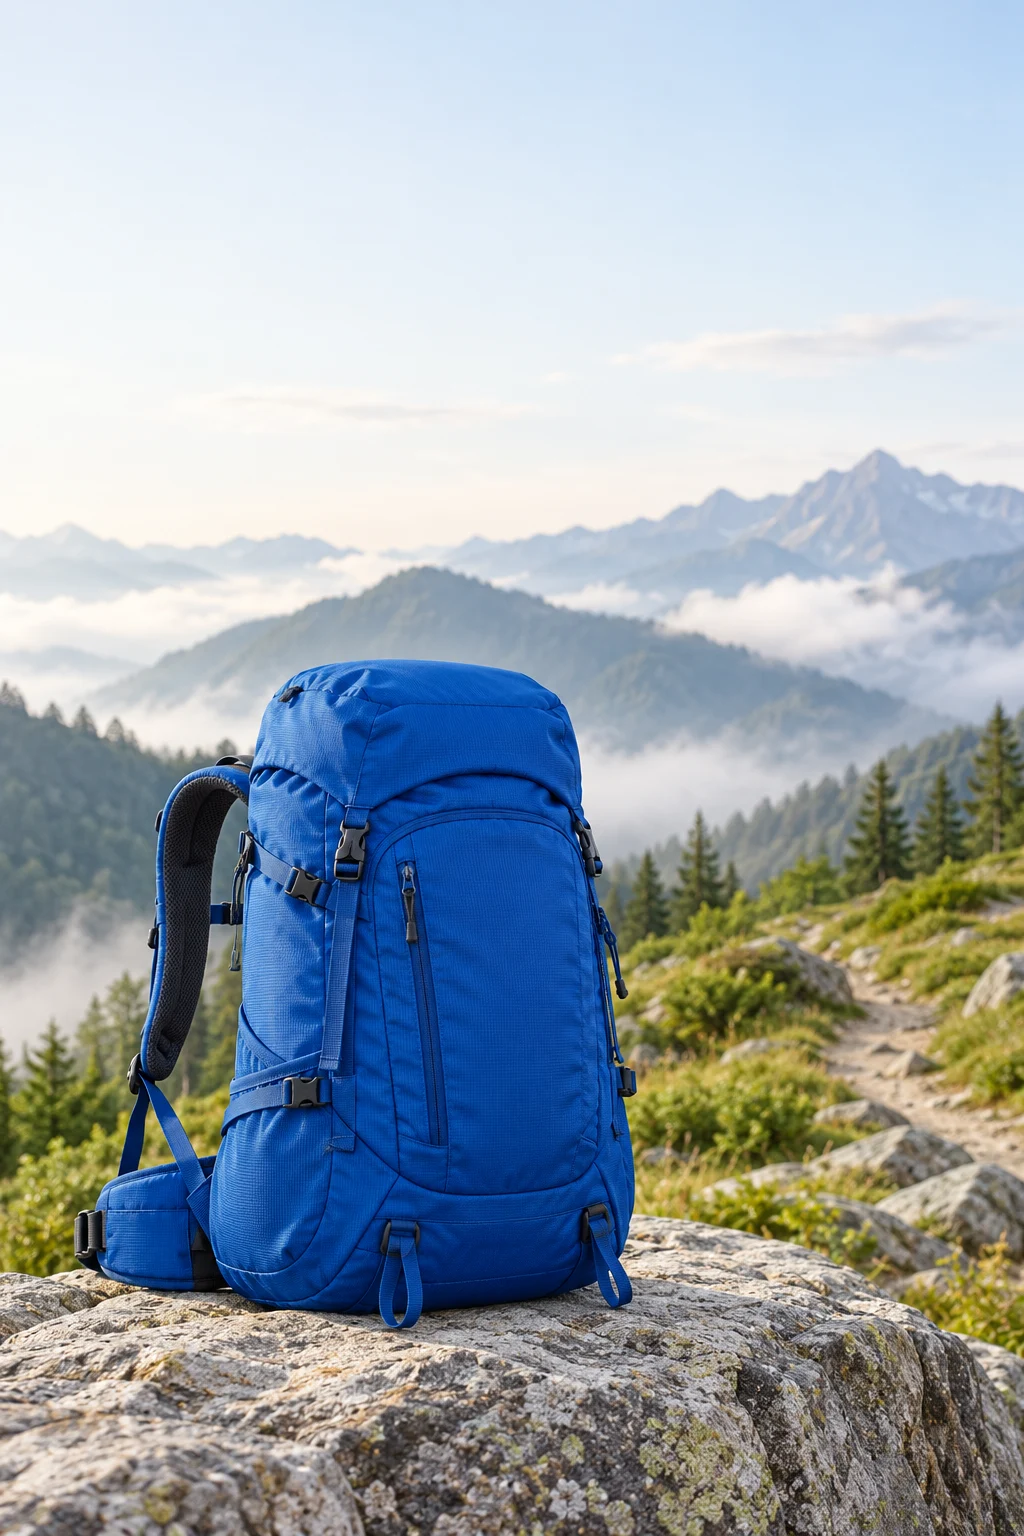
Codex-generated tutorial example; not a Nano Banana 2.1 model result or a product screenshot.
Prompt to adapt
Draft a portrait advertising-image brief for a blue hiking backpack on a rocky mountain trail. Leave the upper third clear for a headline added in the page layout. No text inside the image. Natural morning light. Do not invent capacity, waterproofing, material claims, or a brand.
What to inspect
Can a heading fit above the backpack without covering it? Is the product recognizable at card size? This fictional bag illustrates composition; a real campaign needs an approved product reference and a comparison of straps, zippers, and shape.
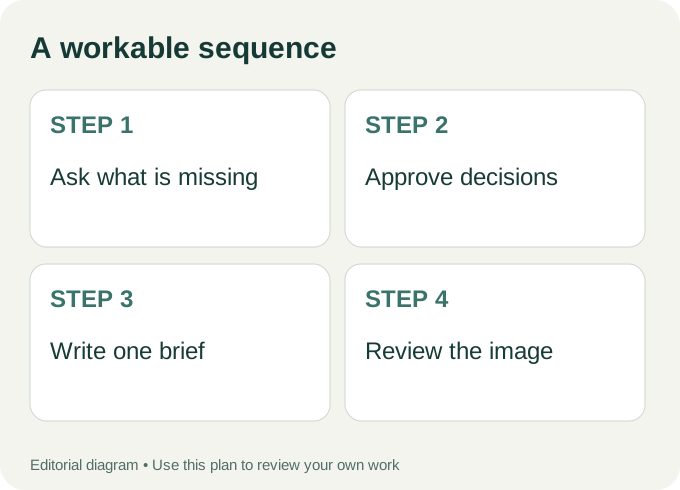
Workflow diagram: a proposed sequence, not a recorded product run.
Approve the brief before expanding it
For a simple website hero, your answer might be: hikers planning weekend trips; landscape image; no baked-in text; blue backpack on a rocky trail; overcast natural light; clear space for a heading. Keep the exact product shape as a fixed requirement if you provide a reference.
Ask the assistant to separate fixed details from optional styling. Read the result before requesting the final prompt. Remove an unsupported phrase such as “waterproof expedition pack” unless you can substantiate it.
A useful brief can be short:
Deliverable: landscape website hero with room for a heading.
Subject: referenced blue backpack; preserve its shape and straps.
Setting: rocky walking trail under soft overcast light.
Audience: people planning a weekend hike.
Copy: none inside the generated image.
Avoid: added logos, invented attachments, dramatic storm effects.
Carry the decisions into the image request
Ask Kimi to turn the approved brief into one clear prompt, not a chain of decorative adjectives. Ask for a second version only if it has a defined purpose, such as a tighter crop for a card. Keep both requests grounded in the same product information.
Then open Nano Banana 21’s image workspace, inspect the model choices, and paste the approved request. Google’s Nano Banana 2.1 documentation describes the named model; it does not establish which endpoint an independent website currently uses.
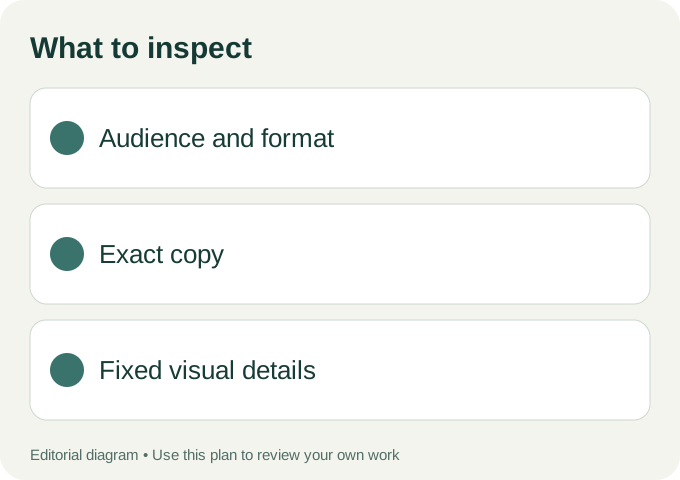
Use these checks on your own export.
Edit the brief after seeing the draft
A draft might show the correct backpack but leave no room for the heading. Correct the composition requirement rather than adding unrelated style words. It might add a logo or extra buckle. Reinforce the relevant product constraint and keep the rest of the brief stable.
Save the final brief with the image. For more starting points, read five image brief templates. Return to the chat workspace when the uncertainty is about the brief; return to the image tool when the request is settled and you need another rendering. Separating those two kinds of revision keeps the process easier to understand.